Confluence Maintenance on Wednesday 25.09.24 3pm - 4pm. Please save all open workpages
Page History
...
A central instance of the Jupyter Notebook Server is available under https://jupyterhub.awi.de for all users with a valid AWI account. Personal instances of Jupyterhub are available for users or workgroups on request. They have a limited life span, after which they are deleted automatically. Own environments, as described before, remain, as they are stored in the user’s home folder, and will be available in all instances of Jupyterhub at AWI.
Working with the Jupyterhub System
The system is used by a web interface in the browser. After login, the interface offers four tabs, described below: “Files”, “Running”, “Clusters”, and “Conda”.
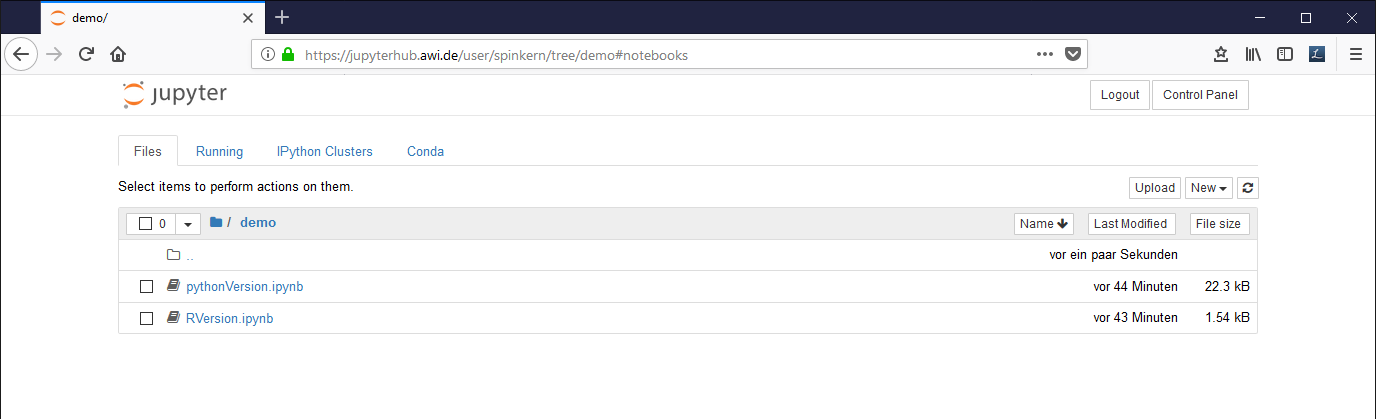
The “Files” tab
This tab shows a folder listing of the user’s home folder and offers a simple file browser including up- and download functionality.
It is not possible to navigate outside the own home folder. To access data on the central storage system, this needs to be linked (see description below).
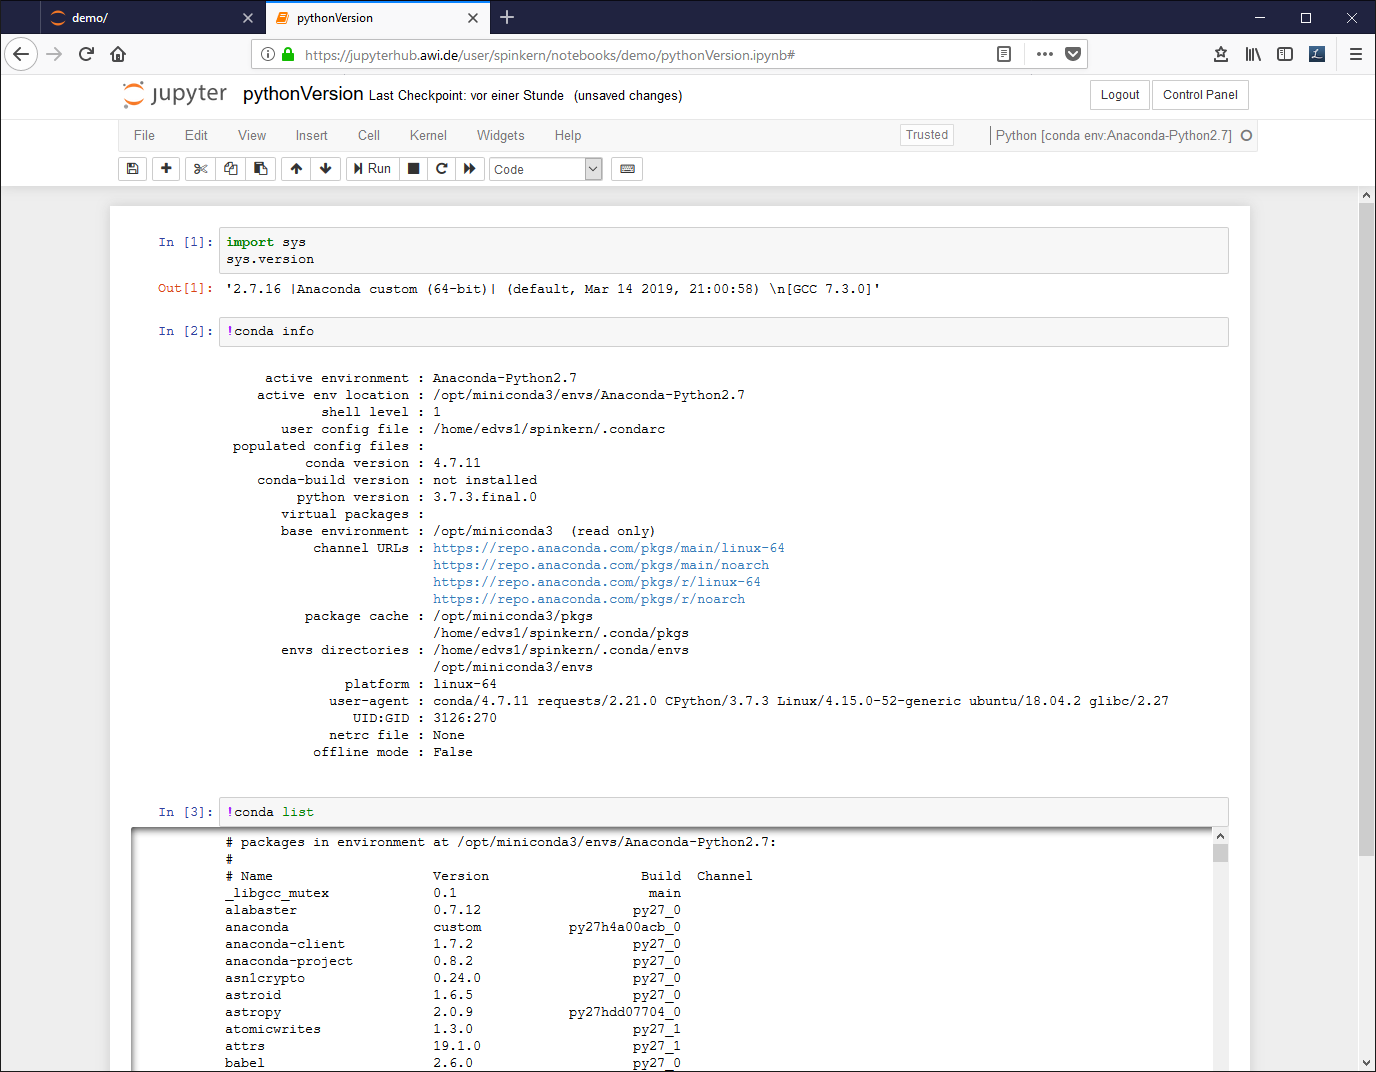
Notebook documents
To start a new notebook document click on “New” and select a preinstalled environment.
...
Executing the notebook again changes the output:
Terminal
In the “Files” tab, click “New” and “Terminal”.
...
To place a link to the MCS into your home folder type the following commands into the terminal:
cd
ln -s /isibhv/(…)

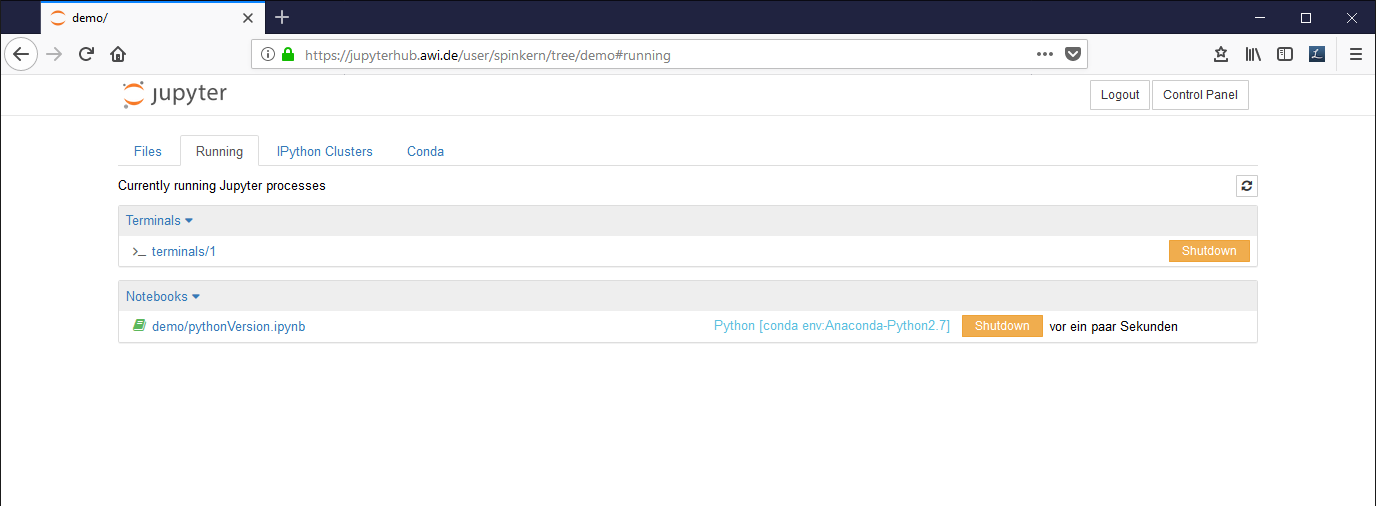
The “Running” tab
This tab gives an overview of running notebook documents, terminals, etc. It is recommended to close all running notebooks, that are not actively used.
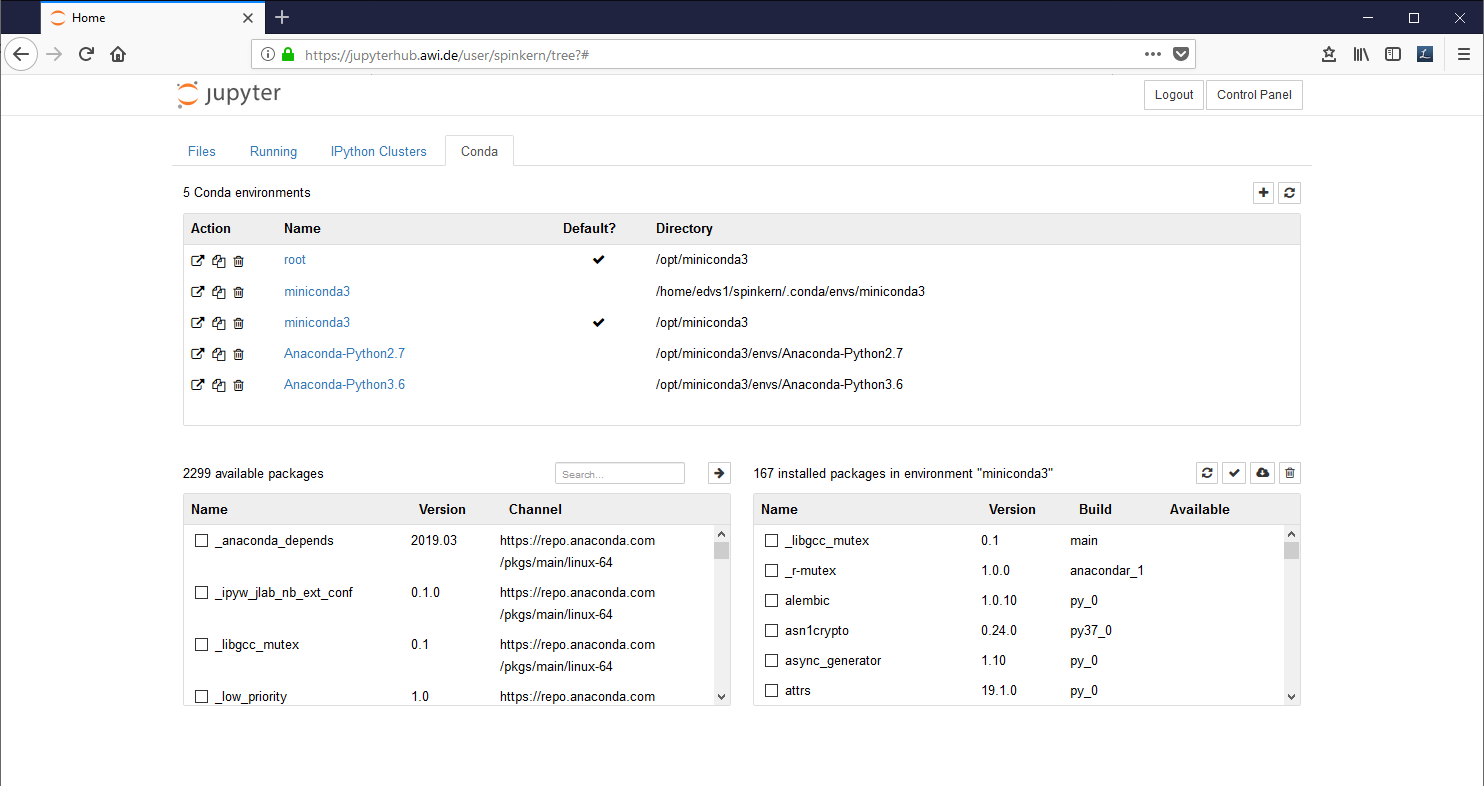
The “Conda” tab
The Conda tab can be used to create new Python 2 and Python 3 environments and to install additional libraries.
Suppress the error message in the Conda tab
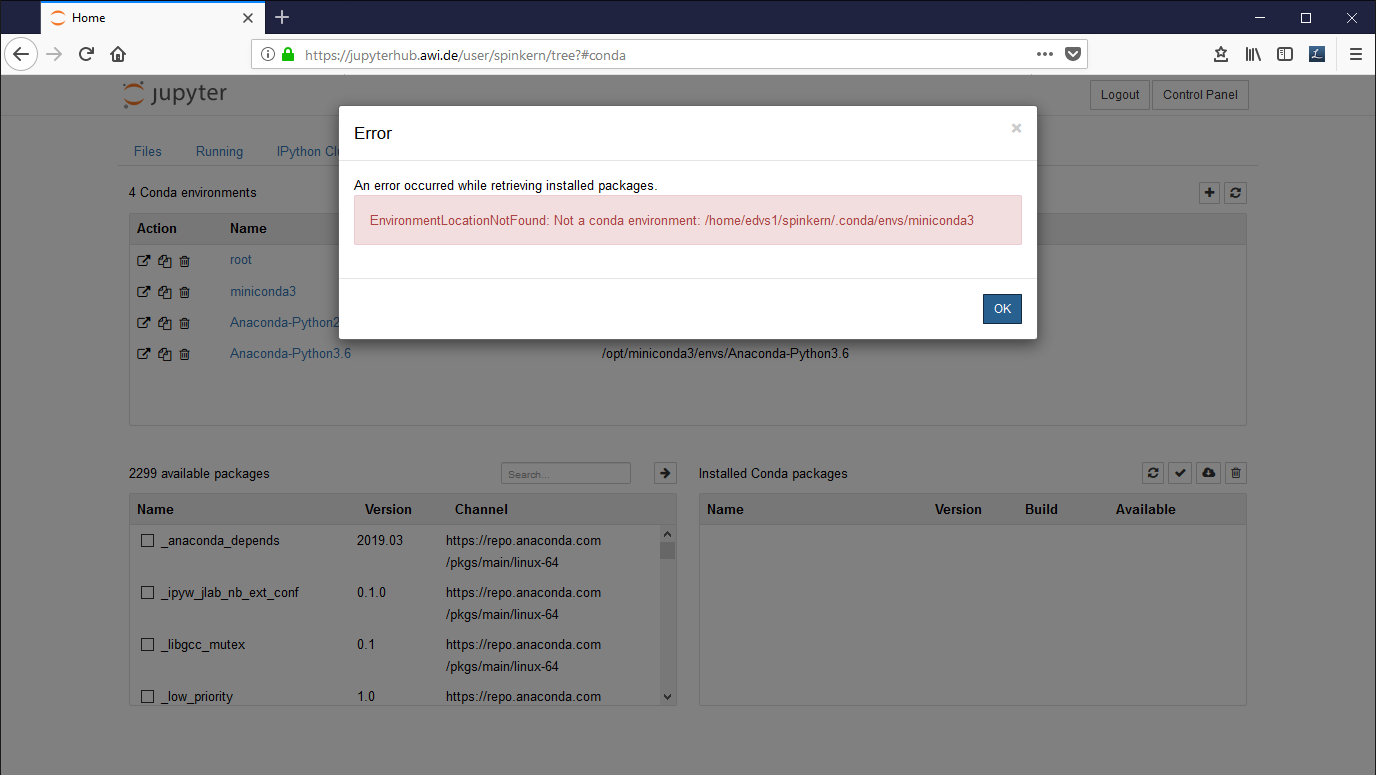
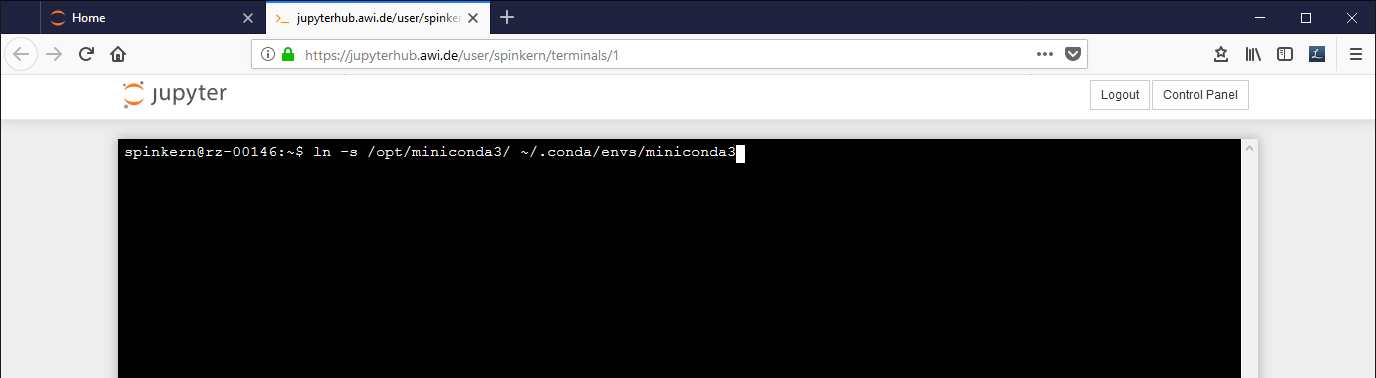
In case you get this error message, execute the following command in the terminal:
ln -s /opt/miniconda3/ ~/.conda/envs/miniconda3
The “Clusters” tab
This option is not supported in this version.
Python
Creating an own Python Environment
In the “conda” tab, click on the plus button in the upper right corner. Set a name for the new environment, select “Python 2” or “Python 3” from the dropdown box, and click “Create”.
...
Alternatively, a new environment can be created by the conda CLI using the terminal.
Installing Python libraries
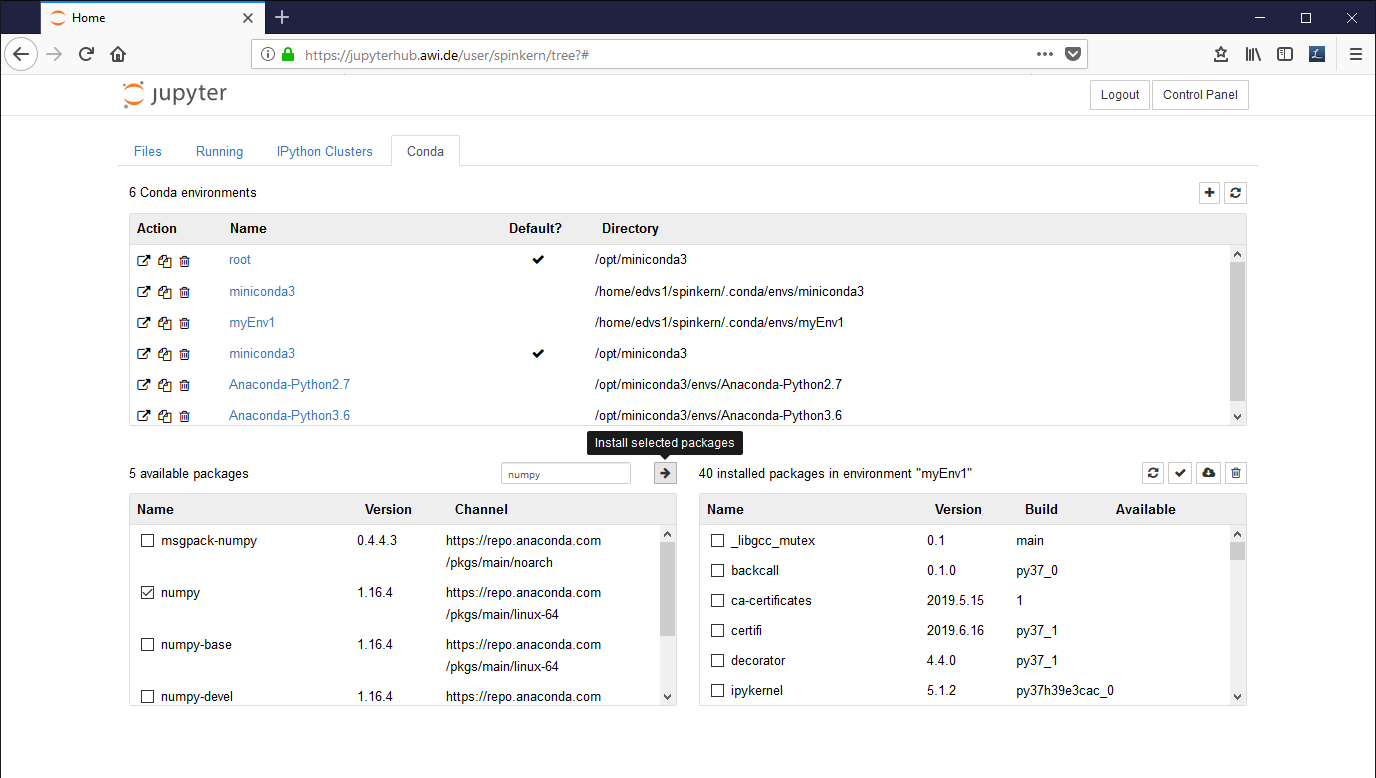
The users cannot modify the pre-installed conda environments. So, to install additional libraries, an own environment needs to be created first.
...
Mark the desired packages and click the Arrow Button to install them. The underlying conda package manager automatically resolves package dependencies.
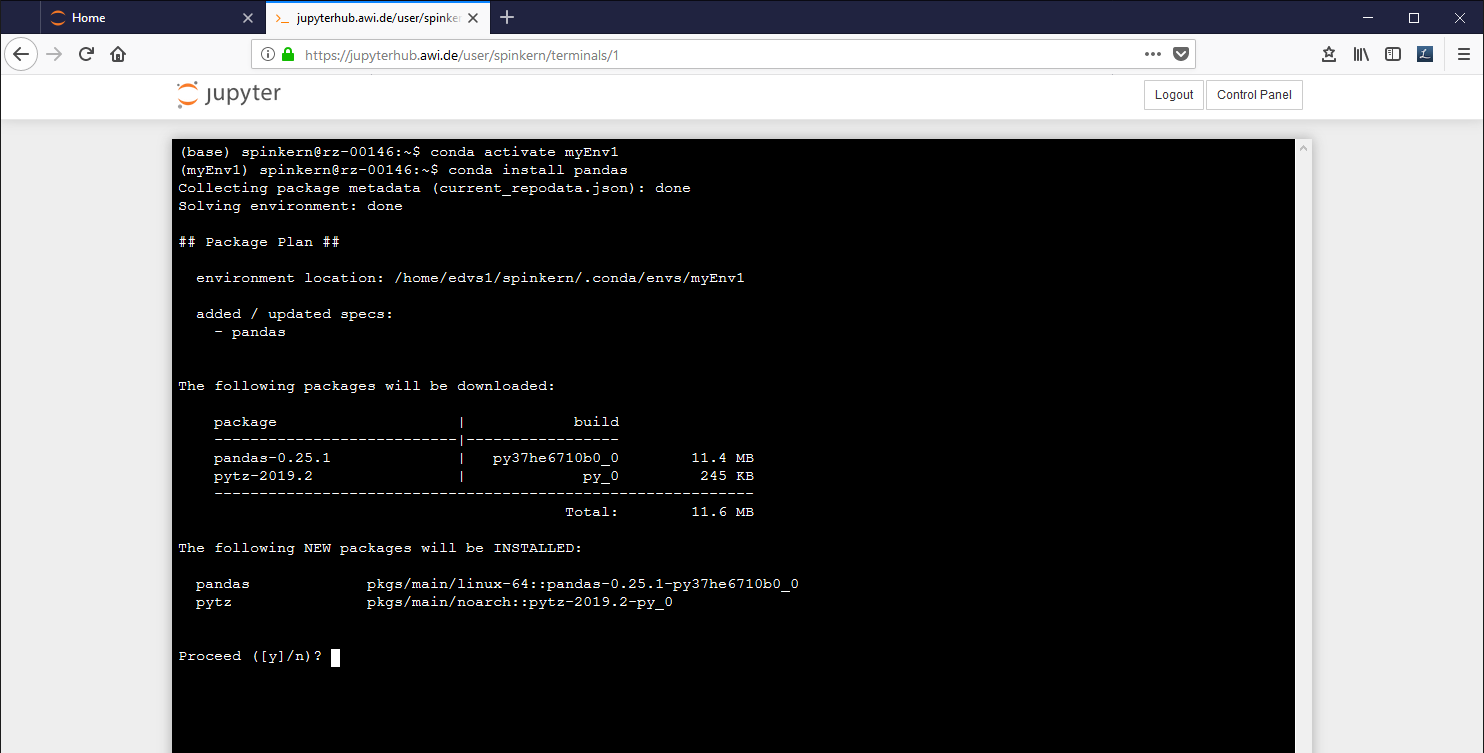
Conda package manager
Instead of using the "Conda" tab mentioned before, you can also use the conda package manager via the terminal. The package manager allows to configure the conda environment, which is the base of the Jupyter Notebook application.
PIP
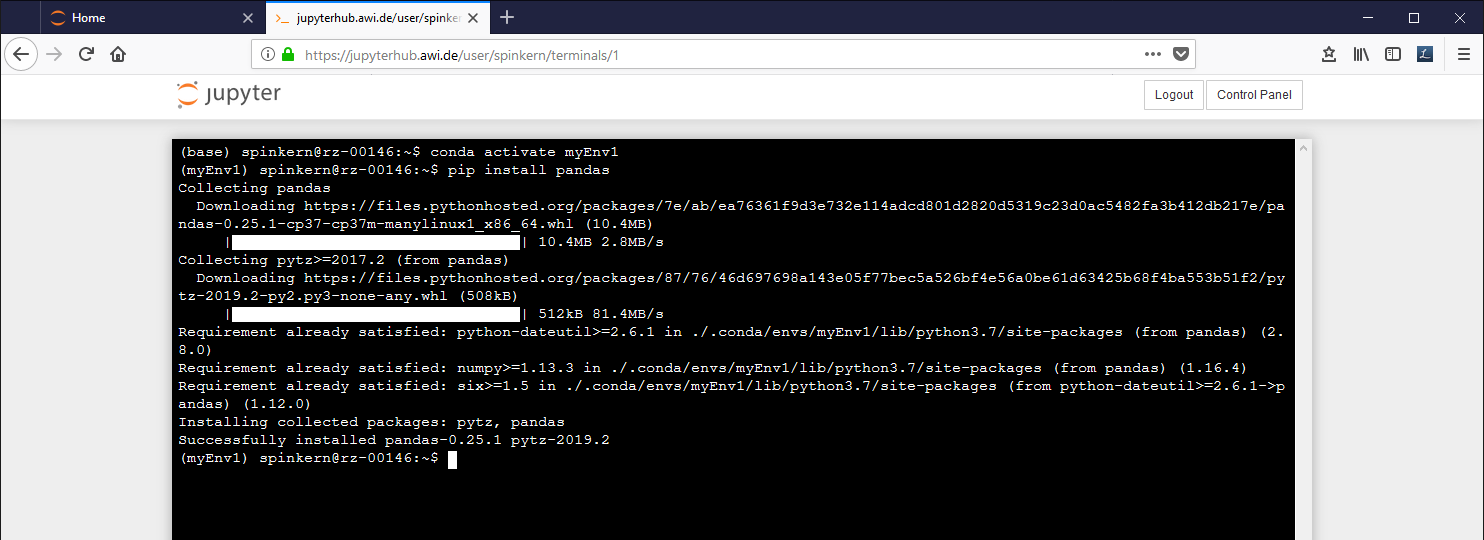
Most packages are available via the conda package manager, as described below. Alternatively, pip can be used via the terminal.
...
Alternatively, the environment has to be “activated” first, which links the global “pip” command to that of the activated environment.
R
The R environment comes with preinstalled Tidyverse meta-package. Users can add R packages, which will be installed in a personal library in their central home folder. In contrast to the Python environments, no additional environment needs to be created. Additional R libraries can be installed using the install.package() command within R, either using an R notebook or the terminal.
...
Overview
Content Tools